Several weeks ago, we poured concrete piers to start our layer coop project (previous post). Now that the weather is actually becoming more agreeable, we could continue on with our project. As mentioned in other posts, we are blessed to have several nice resources (sawmill and a plethora of trees) that have helped keep the costs down tremendously.
Over the past few weeks, I’ve cut down various trees in our new pasture area we are trying to create (see Pasture Plan post). These trees were to be used for lumber for our projects. Virginia Pine grows in various stands on our farm. They are usually scrubby and not very well formed. They do, however, mill quite nicely.
We transported the logs to the sawmill (at my brother’s farm) and he milled dimensional lumber for me. Since the lumber was to be used for outside buildings, we did not concern ourselves with drying the wood. We do have to account for wood movement as it dries and the wood is quite heavy when it is wet, but it will soon quickly dry out. As is typical with fresh cut pine, everything is extra sticky with the pine sap. I think I could take my work gloves and throw them at the wall and they would stick.
I had an old deck on the wood shop that I don’t use any more and at 8×10 it was the perfect dimension for the coop. I love to re-purpose stuff! Three weeks ago, we transported the deck, fully intact, to the coop site using our utility trailer and some extra help from my parents.
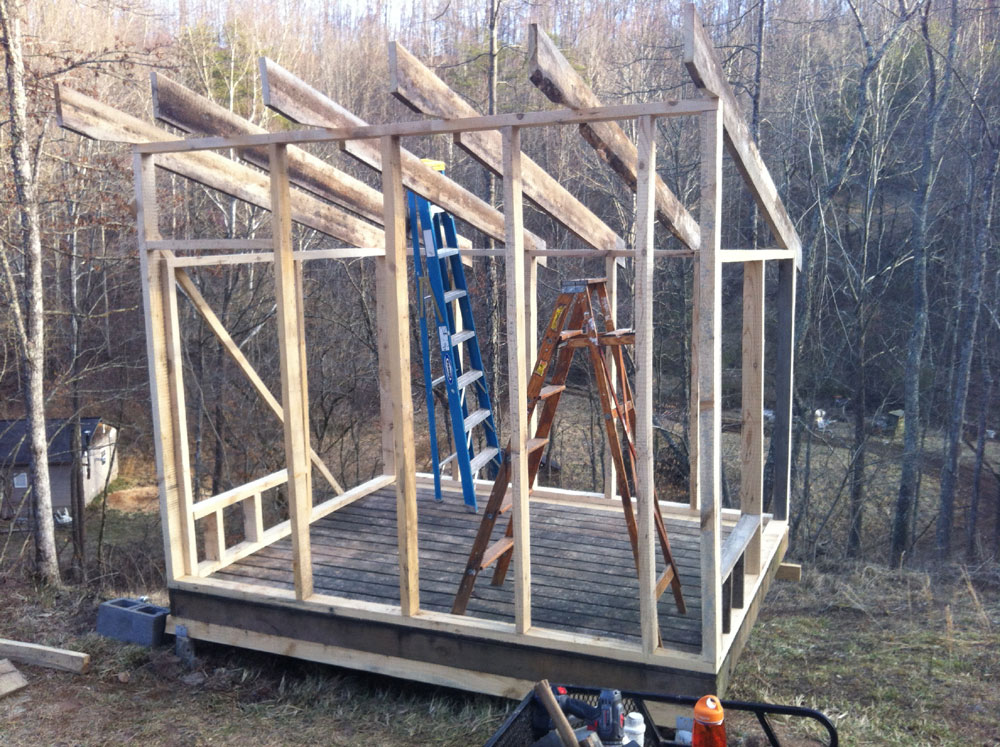
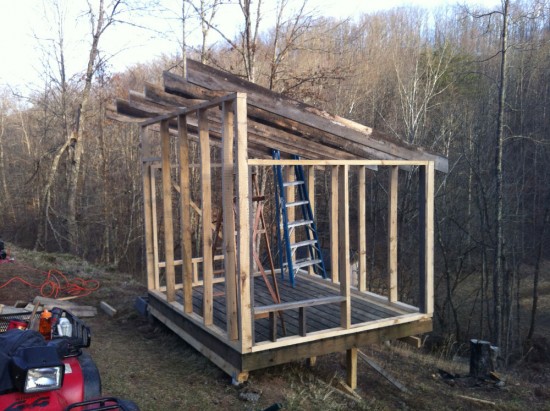 Today was the day to start framing out the coop. I wanted to design a simple plan that had a single roof line. I am planning on catching rain water from the coop roof, so a single angle will simplify that effort. The front of the coop is 8 feet tall. This should be way more height than what the chickens need, but I plan on adding some shelf storage to the wall above the nesting boxes to store some of the supplies that are piling up in the garage.
The back wall is 6 feet tall. I wanted a good logical height, but after I put the rafters in a realized they were just low enough in the back for me to crack the top of my head against them. Oh well, maybe it will knock some sense into me. I built the front and back walls (load bearing) on 24 inch centers. We milled true 2×4 lumber so they can handle a load much better than commercial 2x4s.
The side walls I built on 4 foot centers. They will have zero load weight on them. The angle space above the side walls will incorporate removable plexi-glass windows that will allow copious amounts of natural light.
At the bottom of each side wall, I framed out the pop doors. There will be two total in the coop. The pasture area around the coop will be divided into two smaller pastures. By closing one pop door and opening the other at night when the chickens are on the roost, I can easily rotate them between the two pastures. This will help revitalize each area and prevent over grazing. It will also provide fresh, new grass for the chickens every few weeks.
I am anxious to try a design I have been working on for a watering trough for inside the coop. It will incorporate collected rain water as well as water that we can add easily. I plan on posting it once it is assembled.
Hopefully another beautiful weather day like today will allow me to continue with the build out.





Leave A Comment