The incubation period has come full cycle now and we have had a successful hatching. I will recap the details from where I left off in Part II. DISCLAIMER: Some images in this post may be disturbing to some as it illustrates the success and failure of animal reproduction and my attempt at learning as much as I can from the failures.
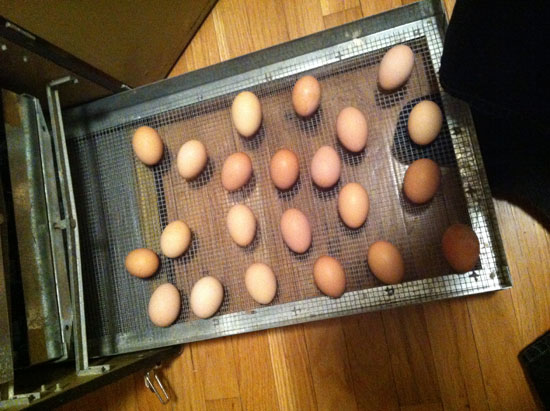
After candling the eggs at day 7 and removing the cracked ones, I determined I had 27 good eggs. I candled again at 14 days and discovered that 5 had not developed anymore. They were removed from the incubator. I have read from several sources that a non-developing egg left in the incubator could explode once it decays enough to build up gases inside it. While I know it would not have any intensity (other than the smell), I pictured in my head the egg going off like a frag grenade and taking out the back of the house.
During my day 14 candling, I was able to see movement and veins clearly defined. Unfortunately my lighting was not good enough to show up on camera, so I was unable to produce any good shots of this. At day 16, the boys were fascinated with the candling results and could make out a head bob and leg kick every once and a while. The dark brown eggs really make it more difficult to see. Day 16 was the last day I could candle safely and the automatic rotator was to be turned off so it would not affect the chick from turning the right direction for pipping (breaking out). They orient themselves with their heads toward the larger end of the egg where the air sac is. Interestingly, the size of the air sac depends on the humidity of the incubator. Too little humidity and the egg dries out inside thus reducing the yolk sac fluid. Too much humidity and the air sac doesn’t become large enough for the chick to pip through.
Day 19 was moving day. The eggs were moved down to the hatching tray at the bottom of the incubator. Ample space was given around each egg so they would not be obstructed during the pipping process. I was able to install a web camera inside the incubator to video the progress of hatching.
The beginning of Day 21 (8:00pm actual time) revealed minor tremors in the eggs. They would move a little and rock back and forth from time to time. By the end of Day 21, only one had pipped through enough to poke his beak out. I had to resist the desire to help him out knowing that I could kill him by tearing the yolk sac before the capillaries seal off. The chick is still attached to the egg via the naval at this point. It is critical that once the chick pips through the egg shell it takes several hours to rest and to allow it lungs to develop completely and can handle the outside air.
The very beginning of Day 22 produced a flurry of activity. It was like a chicken jail break. I was able to capture the beginning of the hatch with the time lapse camera. each frame equals one minute in the video so it takes some time for them to come out. As I figured, they all hatched out in the early am, so I was asleep when the real rush came on.
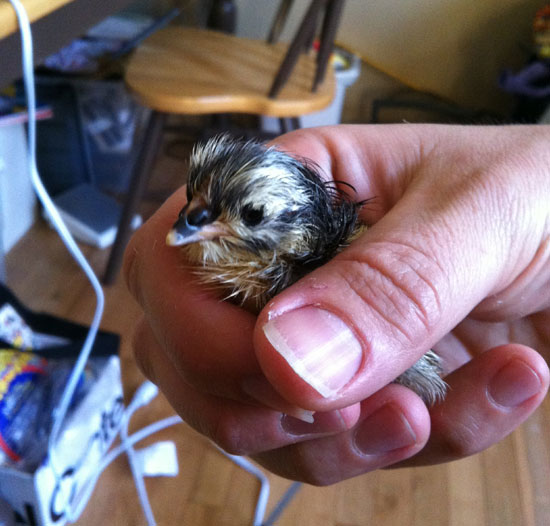
Mid way through Day 22, all but four of the eggs had hatched. Two had pipped through the shell but were much slower than the others. The other two were completely still and showed no evidence of pipping. These were gone. Once the last two hatched completely, I was curious to see if they would be the runts of the flock. I marked there legs so I could identify them as they grew to see how they managed.
Once the chicks fluffed out, I then moved them to the brooder. The brooder is basically a box to house the chicks and eliminate any draft potential. The red heat light needs to produce 95 degrees at the floor to keep the chicks warm. The light is off the one side of the brooder to allow the chicks to get away from it if they become too hot. I had to spread the food out on the papers to encourage them to eat. It is amazing how quickly they start eating and drinking. A neat trick I learned was adding marbles to the water dish so they don’t accidentally drown (they stagger around like drunks for awhile) but can still get to the water.
I discovered this morning that one of the chicks is favoring its right leg. Upon inspection, I found no defect but it definitely will not use that leg. I read that a slick surface on the brooder floor could cause a dislocation, but my shredded paper should suffice to keep from slipping. This one will have to be observed and most likely culled from the flock. Sad, but the way things need to be to maintain the integrity of the flock.
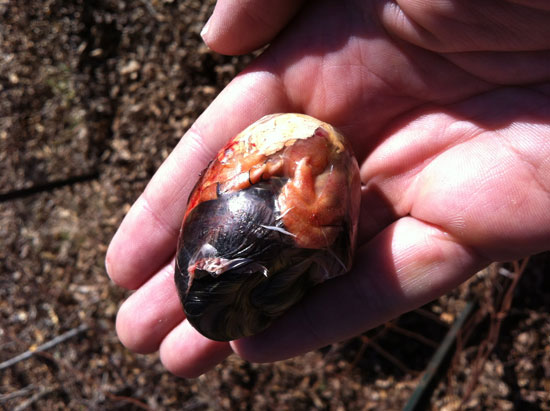
On the subject of sad, my scientific curiosity got the better of me and I had to investigate my two “still-borns”. I took them both outside (just in case they had an odor) and proceeded to open them up. With the shell and outer membrane removed, I could clearly see the intact yolk sac and a fully developed chick inside. It is absolutely fascinating how they fill out all of the space in the egg but yet have the ability to pip out.
Upon partially removing the yolk sac, I could see better the details of the chick. Clearly deceased but appearing perfect in its development. Those are its feet just below my thumb.
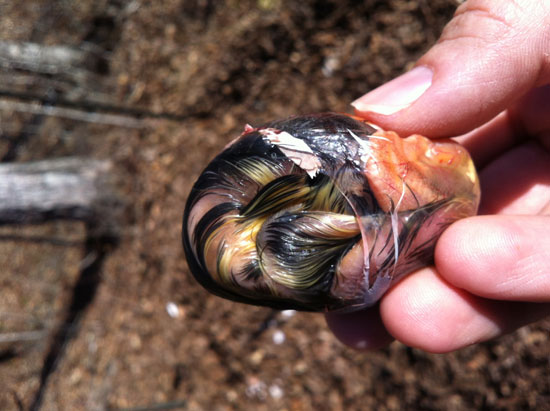
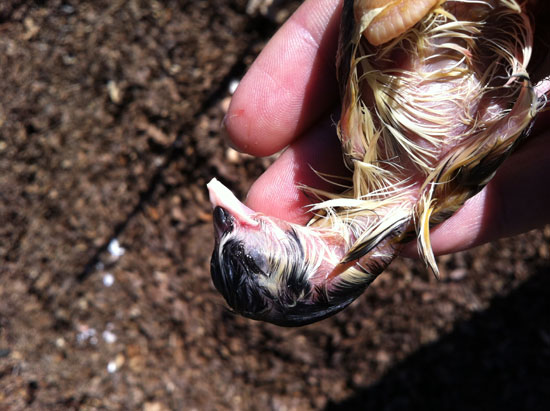
As I unfolded the chick, I could see clearly the egg tooth at the end of its beak. It felt sharp like a small splinter and I could easily see how it helps perforate the sacs and punch through the egg shell.
I am anxious to see how these 20 (or 19) chicks develop and see how the Black Australorp breed performs on our farm. In four to six weeks, I should be able to sex the chicks to see what ratio I have. If I have all roos, then we are going to have a big chicken roast! My ideal situation would be one strong roo and the rest all hens but the odds are not in favor of that outcome.




Leave A Comment