Here at Red Tool House Lumber Co and Farm, we have had chickens for over 2 years now and have managed to keep most of them alive despite the odd weather, countless predators – both footed and winged, and general neglect due to the day job spilling into a night job.
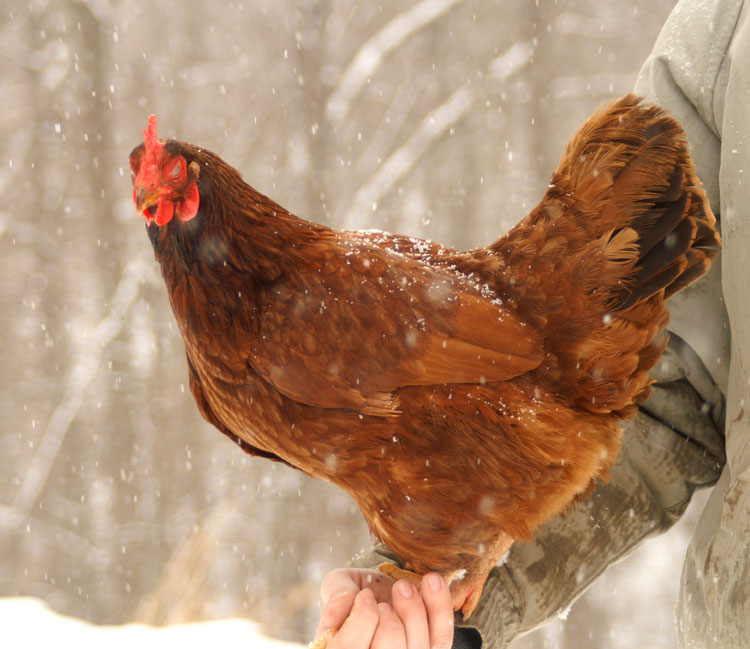
One request I had from Kelly when I ordered the chickens was not to order a rooster. She was intimidated by the stories she had heard about them being ill-tempered and very vocal. Unlike the cartoons where they only crow at sun up, some roosters crow incessantly throughout the day. A rooster of that nature would be the leading contender for the stew pot. So our first batch of chicks arrived in the mail (that is a story all on its own) and soon they were growing into healthy hens.
When the eggs started showing up, we were excited. The color, texture, and flavor of these fresh eggs was superior to store bought eggs and we were immediately convinced we would not buy another egg from a supermarket unless we were desperate.
Without a rooster, we had the benefit of not having to worry about fertilized eggs in our food chain. There really isn’t anything wrong with eating fertilized eggs, but left to age, there is always that slim chance one may start to develop before it ends up in the skillet. The down side to not having a rooster is that we have no way to breed new chicks.
I remembered the other day that my brother had an incubator in his garage for years. It just sat over in the corner unused. I asked him if I could borrow it for a while to try my luck at hatching eggs. Once I had the incubator cleaned and tested, I then searched for a local source of fertilized eggs. I was fortunate to find Adam at Right Side Farm in Lincoln County. He was very helpful in not only selling me Black Australorp fertilized eggs, but showing me all the farm projects he was working on. It was a great learning experience and I hope to spend more time learning from him.
I started with 36 eggs when I left Adam’s farm. When I made it home, I was down to 32. Some genius left the egg cartons stacked on top of the other so they came crashing down at the first sharp turn. Brilliant – I know.
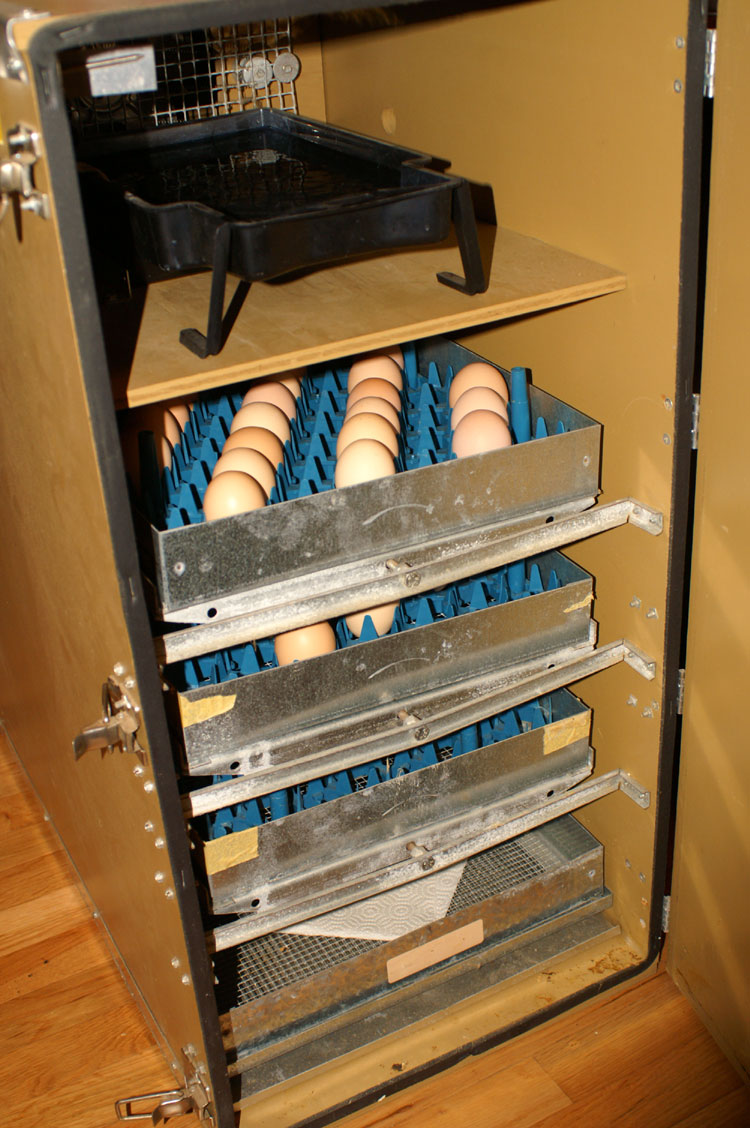
 After cleaning all the eggs, I placed them in the incubator. Research has revealed that rotation, temperature and humidity are very important. Fortunately, this incubator is a very nice piece of equipment and offered automatic shelf rotation, double thermostat for temp regulation, and two prob thermometers for wet/dry bulb humidity calculation. It will also house 288 eggs at one time. That is a flock of eggs!
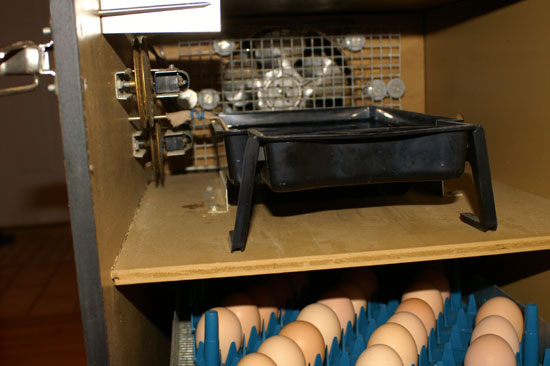
The incubator has a redundant thermostat system that maintains a steady 99.5 degrees (F). This is apparently the ideal temperature that best represents the under carriage of of hen. Humidity is controlled by placing a tray of water in front of the heater/blower fan and by opening and closing small vents in the back of the incubator. The ideal humidity starting out is 50% to 60%.
With all the controls set and the water tray filled, I closed up the incubator and started the count-down clock. At 4 to 7 days, I should be able to candle the eggs and identify those that are fertile and growing, those that were once growing but have died, and those that were not fertile at all. Total development time of the chick is approximately 21 days. My goal is to document each step and address issue along the way. I am curious to see if I can turn a potential breakfast item into a viable, productive creature.


[…] This post is a continuation of a post from last week entitled Incubating Chicken Eggs: Part One – An experiment with Breakfast […]